Who did or will do the work?
No votes yet. Yours will be the first. · saved on this device
Loading...
Garage Floor Brief · Professional epoxy installation vs DIY epoxy kit
A DIY epoxy kit costs a fraction of a professional floor in materials, but most kits are thinner or water-based, and most DIY failures start with preparation done without a diamond grinder. A professional installation costs more but includes grinding, repairs, thicker 100%-solids or hybrid systems and a warranty. DIY suits sound slabs, light use and owners willing to rent a grinder.
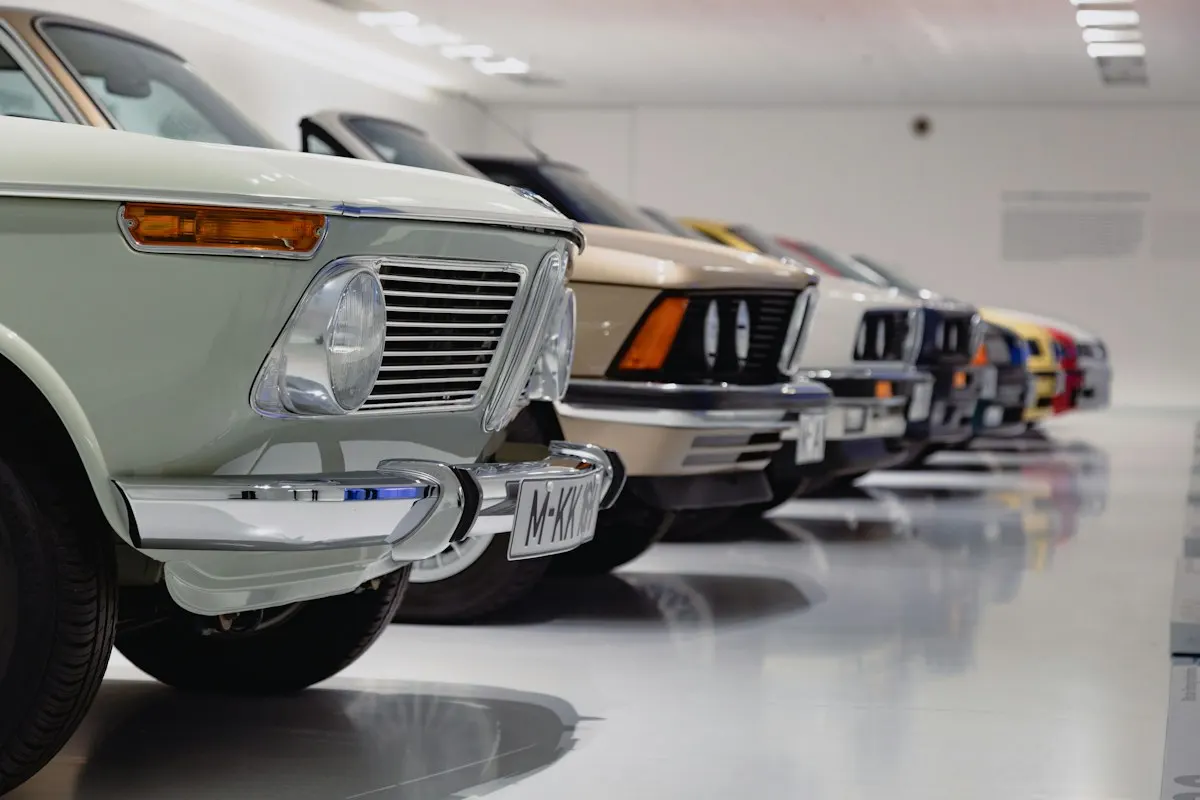
Photo: Alex Suprun · License.
DIY epoxy is one of the most tempting garage projects because the price difference looks enormous. A kit costs a few hundred dollars, while professional quotes run into thousands. The question is what the difference buys: equipment, thickness, product grade, experience with working time, and someone to call if the floor lifts. Sometimes that is worth paying for, and sometimes it is not.
This page compares the two routes on real-world scenarios, ten-year cost, climate, resale, common mistakes and how to judge a bid. Figures come from Garage Flooring LLC, Bob Vila, Angi and FloorTek Coatings; FloorTek sells professional coatings and is named where its estimates appear. The goal is not to talk anyone out of DIY, but to make the real costs of both routes visible before you buy a kit or sign a proposal.
The cost gap is mostly labor for grinding and preparation, which is exactly the step DIY kits replace with acid etching. Professional 100%-solids systems over a ground slab last many years; water-based kits over etched concrete last one to three by Bob Vila's estimate and fail at the tires first.
| Factor | Professional epoxy installation | DIY epoxy kit |
|---|---|---|
| Cost | $3–$12 per sq ft installed (Angi 2026) | $1.45–$5.21 per sq ft materials (Garage Flooring LLC 2025) |
| Product | 100%-solids epoxy, $45–$150 per gallon (Angi) | Usually water-based, $30–$50 per gallon (Angi, Bob Vila) |
| Preparation | Diamond grinding to a specified profile, moisture test | Acid etch or cleaner; no profile measurement |
| Thickness | Multi-coat, 20+ mils typical | Single thin coat, a few mils |
| Lifespan | Up to 20 years with proper prep (Bob Vila) | 1–3 years (Bob Vila); 1–2 years to visible problems (FloorTek) |
| Time | 2–3 days on site plus cure | A weekend plus cure |
| Best for | Any driven garage; anyone who wants the floor to last | Cosmetic refresh, a rental, or a garage you will re-do anyway |
Professional installation wins for any floor that has to hold up to cars, because the value of the job is in the grinding and the 100%-solids product, and neither is practical from a kit. Angi attributes 33–60% of the installed price to labor; that labor is what a DIY kit skips.
A DIY kit makes sense as a short-term cosmetic fix where a peel in two years is acceptable, or on a rarely used floor with no hot tires. The honest middle ground for a capable owner is renting a grinder and buying a 100%-solids product, which Angi prices at $45–$150 per gallon, from a supplier, which moves the result much closer to professional at a fraction of the labor cost, but it is a serious weekend.
A DIY floor works best on a sound, dry, uncoated slab with few cracks, in a garage used for storage or light parking, by an owner willing to rent a floor grinder with a vacuum and work carefully over a long weekend. The CRAFTSMAN survey found 53% of Americans use the garage for DIY projects, so plenty of owners have the patience. What they often lack is the grinder and experience with pot life, the minutes before mixed epoxy starts to set.
Professional installation makes more sense when the slab has an old coating, significant cracks or oil damage, when you need a moisture test you can trust, when the garage is large, or when you want a full-flake system with a durable topcoat. It also makes sense when time matters, because a crew can prepare and coat a two-car garage in a day or two while a first-timer may need several weekends. It is also the safer choice for an attached garage where the household cannot tolerate dust, fumes or a failed first attempt.
Garage Flooring LLC prices DIY epoxy materials at $1.45–$5.21 per sq ft, against three to twelve dollars or more for professional installation; Angi puts the labor alone at $1–$7 per sq ft. Bob Vila puts a one-car professional epoxy floor at $720–$2,900. For DIY, add a rented diamond grinder with dust collection, diamond tooling, crack filler, degreaser, rollers, spiked shoes, respirators and flake if you use it. Those extras can add several hundred dollars to a kit's price.
Material grade is where DIY budgets quietly shrink the floor. Angi lists 100%-solids resin at $45–$150 per gallon, while many entry-level kits use water-based resin, which Angi lists at $30–$50/gallon. Bob Vila notes water-based epoxy lasts only 1–3 years. A DIY owner who buys professional-grade 100%-solids material and rents a grinder narrows the performance gap but also narrows the savings.
FloorTek Coatings estimates that DIY kits typically show peeling or hot tire pickup within one to two years and professional epoxy within 3–5 years. Treat those figures as an installer's view, but they point the same way as homeowner experience: thin, poorly prepared floors fail early. A DIY floor that is redone twice in ten years, plus the cost of grinding off the failed coating, can end up costing close to a single professional installation.
A well-executed DIY floor with good material, however, can last many years on a lightly used slab. The honest ten-year comparison depends on how carefully you prepare and which product you buy. If you would rather not gamble, the epoxy cost guide shows where a professional quote should land, and the calculator estimates totals by size.
Hot climates magnify DIY weaknesses. Hello Garage reports tires can exceed 140°F on summer days, and thin DIY films over acid-etched concrete are the classic victims of hot tire pickup. Hot garages also shorten epoxy pot life, so a first-timer mixing large batches can find the resin setting in the bucket. Working early in the morning and mixing smaller batches helps.
Cold and humid climates bring the opposite problem. Epoxy cures slowly in a cold slab and can blush in humidity, leaving a greasy film that weakens topcoat adhesion. Professionals carry thermometers and dew-point tools and reschedule when conditions are wrong. A DIY owner should read the product data sheet's temperature limits and follow them, even if that means waiting for a better weekend. A week's delay costs nothing, while a blushed or soft floor may need sanding and recoating.
Buyers judge the result, not the installer. A neat DIY floor in good condition reads the same as a professional one in photos. The difference shows over time: DIY floors are more likely to peel in tire paths and near the door, and a peeling floor looks worse than bare concrete. If you plan to sell within a few years, bare, clean concrete or a professional floor are both safer than a DIY floor that may be failing at listing time.
Professional installations can also come with transferable warranties, which a buyer may value. A DIY job has only the product manufacturer's limited warranty, which usually excludes preparation and application failures. Keep receipts and data sheets either way, because they help answer a buyer's questions about what is on the floor. For a DIY floor, also note the product name, batch number and application dates, since manufacturers usually ask for them when a warranty question comes up.
The most common DIY errors are acid etching instead of grinding, skipping crack and oil repair, applying too thin to stretch the kit, missing the product's recoat window, and parking too soon. Each is avoidable. The grinding versus acid etching comparison explains why the preparation step decides most outcomes, and the prep service page shows what a proper profile looks like.
When judging a professional bid against your DIY estimate, check that it names the preparation method and profile, includes a moisture test, lists each coat with product and thickness, and states cure time and warranty. If the professional price is only modestly higher than a quality DIY build with rentals, the professional route usually wins on time and risk. The request form connects you with local installers for comparison.
Time is the cost most DIY estimates leave out. Emptying the garage, degreasing oil spots, renting and learning a grinder, grinding the whole floor including edges, vacuuming thoroughly, and filling cracks usually take a full day or more for a first-timer. The coating itself comes next, often the following day, and a clear topcoat may need a third visit inside the product's recoat window.
Then comes cure. Garage Living's 2026 comparison says epoxy can need up to 7 days before cars return, and that applies whether a pro or a homeowner applied it. Plan for the garage to be out of service for a week or more, and for at least two weekends of hands-on work if you include preparation. That is time many owners are happy to spend, but it should be counted honestly against the savings.
A professional crew compresses the active work into one to three days because the equipment, tooling and routine are already in place. If your weekends are scarce or the weather window is short, that speed may be worth more than the money saved. The epoxy versus polyaspartic comparison explains how a faster-curing system shortens downtime further.
Homeowner polls
No votes yet. Yours will be the first. · saved on this device
No votes yet. Yours will be the first. · saved on this device
No votes yet. Yours will be the first. · saved on this device
Because the coating is thin, water-based, and bonded to an etched rather than ground surface. Hot tires soften that weak bond and lift the coating as they cool. Hello Garage puts tire temperatures upward of 140°F on hot days, and a thin kit coating has no margin against it.
Some installers will accept a homeowner-ground slab if they inspect and approve the profile first; many will not, because their warranty depends on their prep. Ask before renting a grinder. If the installer agrees, get their CSP target and a moisture test done on your ground slab.
Yes. Many equipment rental outlets rent walk-behind diamond grinders and dust extractors by the day. Ask for tooling suited to your slab hardness and check that the extractor has a filter designed for fine concrete dust. Budget for a practice pass in an inconspicuous area, and expect grinding a two-car garage to take most of a day for a first-timer.
Entry kits often include a light sprinkle of flake and no clear topcoat, which is why they look thinner and wear faster than a professional full-flake floor. You can buy extra flake and a separate clear topcoat, but that raises cost and adds a step with its own recoat window. Read the kit's coverage per gallon before buying.
Most will, but it usually means grinding off the failed coating first, which Duration Concrete Coatings prices at three to eight dollars per square foot. The installer will not warranty a coating applied over remnants of a failed one. Mention the DIY history in your request so the proposal includes removal rather than surprising you mid-job.
It is manageable with precautions. Grinding creates silica dust, so use a grinder with a vacuum and a properly fitted respirator. Epoxy components can irritate skin and airways, so wear gloves, eye protection and a respirator rated for organic vapors, and ventilate the garage. Keep children and pets away, and read the safety data sheet before starting.
Some installers will grind and repair only, leaving you to coat, but few will warranty that arrangement. A more common split is doing the clearing, degreasing and final cleanup yourself while the crew handles preparation and application. Ask installers what homeowner tasks they can credit in the price.
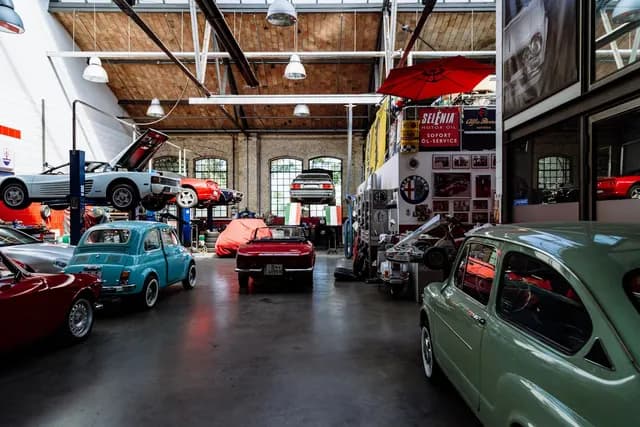
 ComparisonEpoxy coating vs Polyaspartic coating
Epoxy costs less upfront and builds thickness well but cures slowly, can yellow in sunlight and may need up to a week before parking.
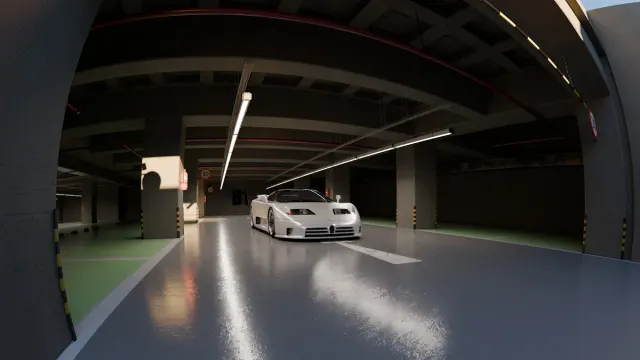
 ComparisonBonded coating (epoxy or polyaspartic) vs Interlocking tiles
A bonded coating becomes part of the slab, gives a seamless easy-clean surface and usually lasts longest on sound, dry concrete.
 ComparisonInterlocking tiles vs Roll-out garage mats
Roll-out mats are the cheapest way to cover a garage slab and suit renters, parking-only bays and short-term needs, but they last only a few years and can trap water.
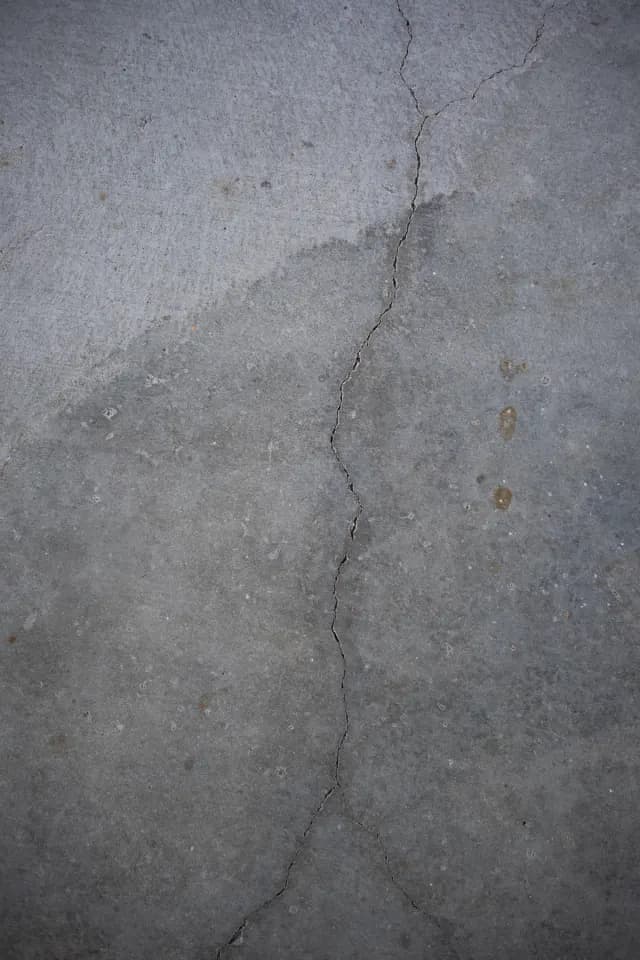 ComparisonDiamond grinding vs Acid etching
Diamond grinding mechanically removes the weak top layer, sealers and contaminants and leaves a measurable surface profile that coatings grip reliably.
 Service guideEpoxy Garage Floor Coating
An epoxy garage floor coating is a two-part resin system applied in layers over ground, repaired concrete.
 Service guidePolyaspartic Floor Coating
A polyaspartic floor coating is an aliphatic polyurea system that cures within hours, resists UV yellowing, and tolerates lower application temperatures than epoxy.
 Service guideInterlocking Garage Tiles
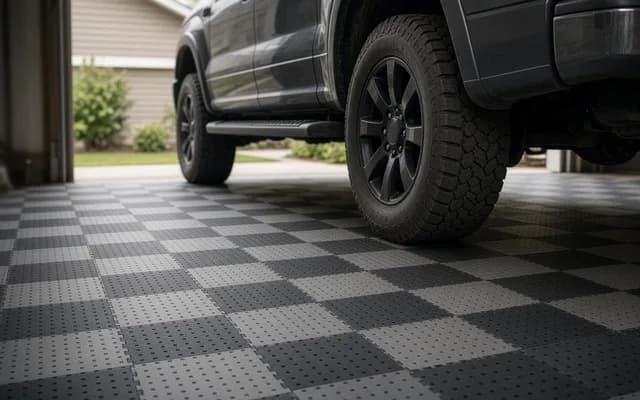
Interlocking garage tiles are rigid or flexible modular pieces, usually 12 to 16 inches square, that snap together over the existing concrete without adhesive or curing.
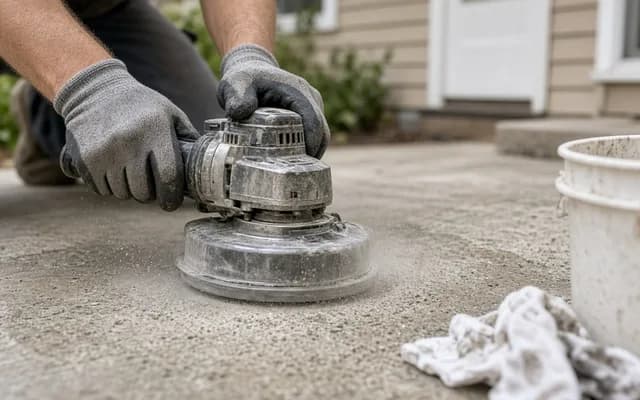 Service guideConcrete Grinding & Prep
Concrete grinding and preparation means mechanically profiling a garage slab, removing old coatings and contamination, repairing cracks and spalls, and testing moisture so that a bonded coating can adhere.
 Free toolGarage floor cost calculator
Size, material tier and complexity in, a realistic budget range out.
 Free toolWhich garage floor fits your slab and schedule?
8 questions that show what you already know and what to check next.
 Free toolGarage floor polls: how other homeowners decided
See what other planners chose and add your vote.
Tell us the size, the condition of what is there now, and what you want to change. Garage Floor Brief passes your request to independent local professionals, who reply with written, no-obligation estimates. The service is free to use.